Making of 3D papercraft (ish…)
Okay! I’m gonna try to describe how I made a 3D papercraft of Ben in case any of you wanna know how I did it. Hope I can explain it well.
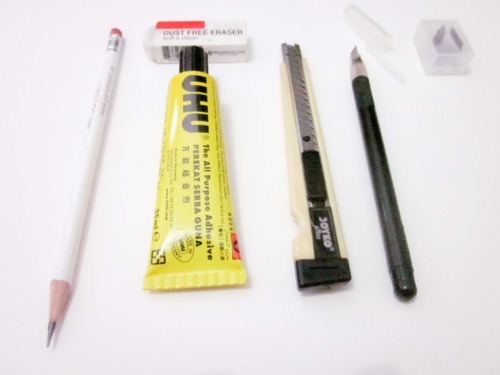
Tools I need: Paper, glue, scissor and cutter. It would be helpful if you have pen-type cutter that is usually used for craft. Pencil and eraser are also needed to make the pattern. (Not to mention the video that was watched like thousand times.)
Time taken: almost forever :p Since this kind of art is new for me, I did lots of trial and error on it before I got the final result.
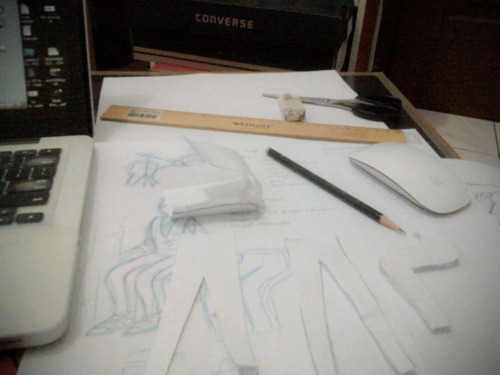
So sorry I didn’t take a picture of every step. My desk was so messy, pieces of unused paper were everywhere and I’d be crazy if I had to clean some spaces and take a pic every time I made a progress.
Here are quick explanations about the process:
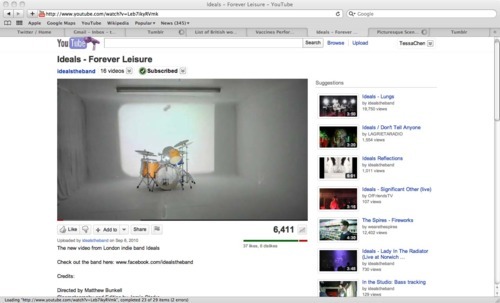
1. Watch the video and capture some important scene that can be used as references. If you love the band, you will not get sick of watching it over and over again. Trust me. I still don’t mind see that vid again :’)
2. Prepare the tools. Buy some papers with colors that match the colors of Ben’s hair, outfit, shoes and drum kit. You also need another paper for pattern. It doesn’t need to be fancy. Used-paper would be fine.
3. Draw the sketch of Ben and the drum kit, complete with the size estimation of each part. Since I’ve never done this before, I actually kinda take a guess about the size. After I drew the sketch, I made the pattern on paper. Cut the pattern and try to glue them together to see the shape. I used my intuition/feeling/whatever it called in this process. If the shape wasn’t good enough, I made a new pattern. That is why I said I did lots of trial and error.
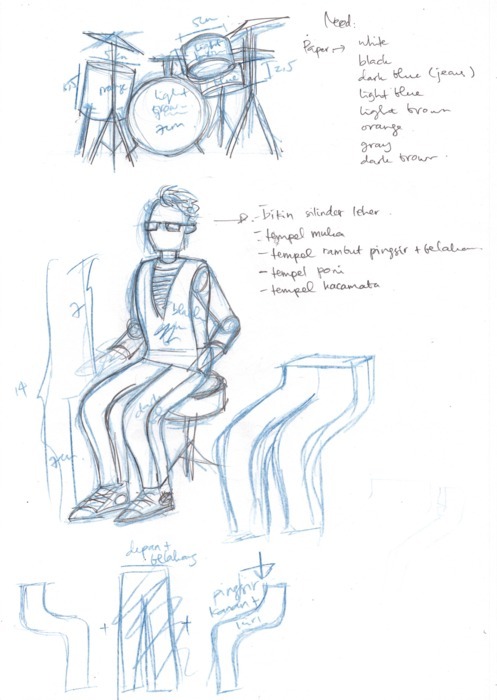
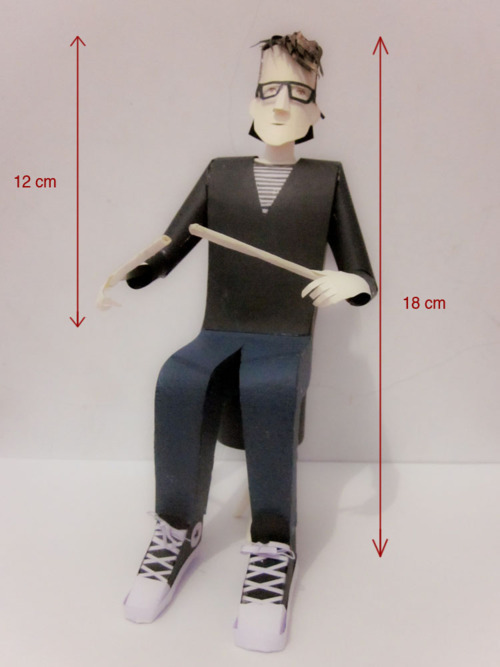
4. Each part of this 3D papercraft is divided into smaller part. For example, Ben was divided into: head, hair, body from shoulder to waist, arms, hands, legs and shoes. The drums were simpler since the shapes are mostly cylinder. I made the drum kit before Ben himself. Then, I adjusted Ben’s height to the size of the drums.
I usually made a good plan for everything. So, before I started to cut and glue, I drew a kind of step-by-step process. I needed to think which part I should make first.
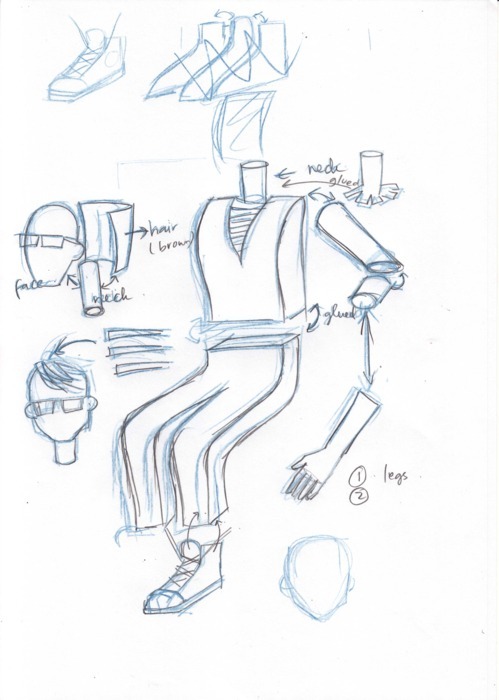
- First part of Ben that I made was legs (the blue part). The legs were divided into six parts: front, back, outer-left leg, inner-left leg, outer-right leg and outer left leg.
- Second was body from shoulder to waist, without arm (black).
- Third was shirt. It’s very simple. I just needed to make a black and white stripe paper and glued it to the inner side of the body.
- Forth was arm(s). Still black. Don’t forget to make the hand as well (skin color), but don’t glue together yet.
- Fifth was head. Head is divided into neck (simple cylinder), face, back hair, fringe, and glasses. Don’t glue them together yet. Let them separated.
- Sixth were shoes. It looked difficult to make them, but in fact it wasn’t as hard as I thought. I have similar Converse shoes and it helped me a lot. The black part of the shoes was divided into four parts: outer, inner, front (where the shoelaces are) and back. The white part of the shoes was divided into three part: shoelace (I just needed to make a long thin piece of paper), the white part on the front (dunno what it called) and the sole.
After I had all these six body parts, all I needed to do is put them together, started from body to arms, body to neck, neck to face and hair, body to legs and finally legs to shoes.
PS: I am not sure whether this crappy blog gives enough information about the process or not. It’s so hard to explain the step-by-step without pictures.

Tessa
x


Comments
Post a Comment