

The Fairy

The Musician

The Weather
Papercutting
Size of paper: A4
Size of papercutting area: 14 x 18 cm
Tessa
x
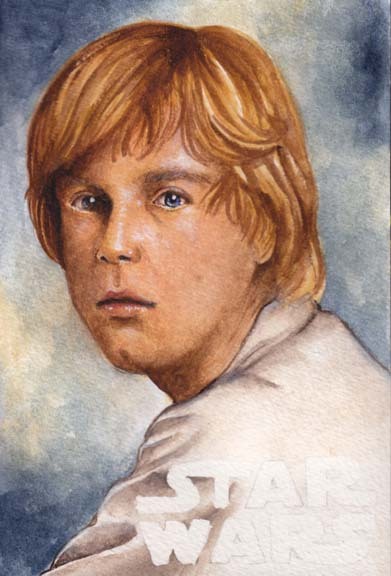
As you can see on my previous blog entry, I made a watercolor painting of Luke Skywalker on a blank A6 size postcard. While making this painting, I have scanned some of the processes in order to make a step by step explanation of it. Here you go…
1. Sketch
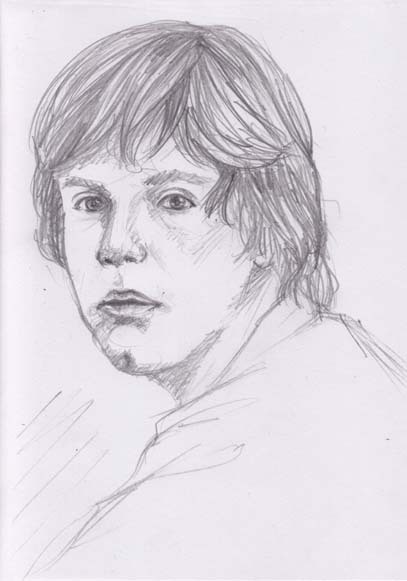
First step is making the sketch. Actually I didn’t plan to make this painting at all. I was just browsed too much about Star Wars on last Wednesday regarding their blu ray release. I love Star Wars. And I just realized that I never made a fan art of it. Not at all. Wondered why. So there I was… Sitting in front of my laptop which was displaying Luke Skywalker picture. I took my paper and B pencil (yeah, I always draw a sketch with B pencil. Never use 2B.) and I ended up with this drawing. It’s a small drawing. Only on A6 paper.
2. Prepare all you need
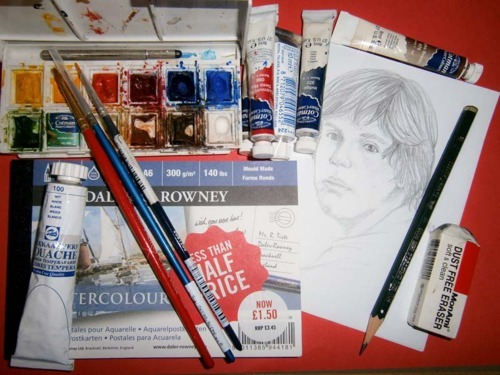
My weapoonnnns! Yes, they are things I need in this painting. The sketch, B pencil, eraser, watercolor paint (mostly Cotman, since my fav watercolor brand, Sakura transparent watercolor is no longer produced here), white gouache, fine round brushes and watercolor postcard! I totally forgot that I have this blank postcard. I bought it two years ago when I was in London at an art supply store near Leicester Square… I guess. I forgot the exact location. (And yes, it was discounted. Haha. Cheap. I got the paint set at the same store and of course it was also discounted.)
Not to mention you will need lightbox/tracing desk and scanner as well.
3. Tracing
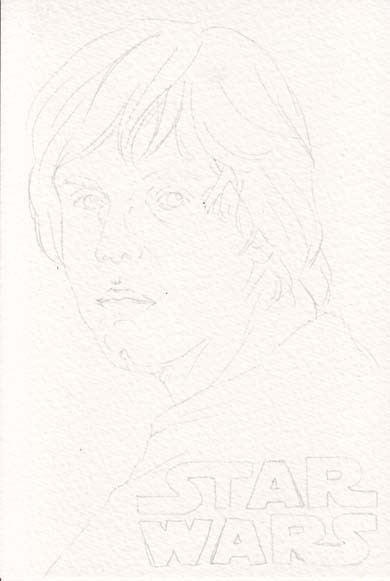
And now it’s time to get your lightbox! or tracing desk or whatever you call the things that allows you to trace your own drawing. It’s the easiest part of the whole process. Everyone can do it. I just need to trace my sketch into the postcard and add the STAR WARS letter.
4. Now, let’s start painting!
Everyone has different color palette and here is mine. The paints that I used for this painting.

Naples Yellow Red (first time I use it. Usually pale orange), yellow ochre, burnt sienna, vandyke brown (my fav paint color), sepia, indigo, alizarin crimson hue (or red!) and of course white.
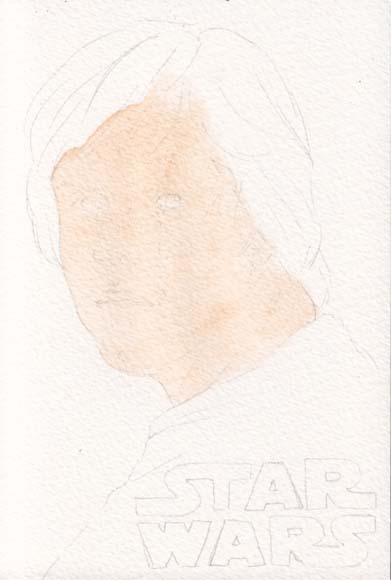
Okaaaay. Let’s start with the face. Actually it would be better if you start with the background first, but I was too excited to paint Luke’s face. So… don’t worry. Start wherever you like.
Apply the white paint on his face, followed by naples yellow red before the white one get dried. Wet on wet painting is the technique I used every time I’m too lazy to mix the color on palette. So, I just mix them right on the painting. Haha. (Seriously, don’t follow this tips. Not good.) Now, let them dry.

Then, I grabbed my yellow ochre paint and start to paint the shadow on his face, around his eyes, nose, lips, everywhere that is darker. (Don’t worry about how it looked on this step. I know the pic above looks horrible.) I also applied blue paint on his eyes and a slight red on his lips.
Important tips: It is much much much better to apply the paint over and over again in layers than apply the thick and bold paint in only one layer. You will get a brilliant color if you do the painting in layers. It needs patience and time, but trust me… it’s worth it.
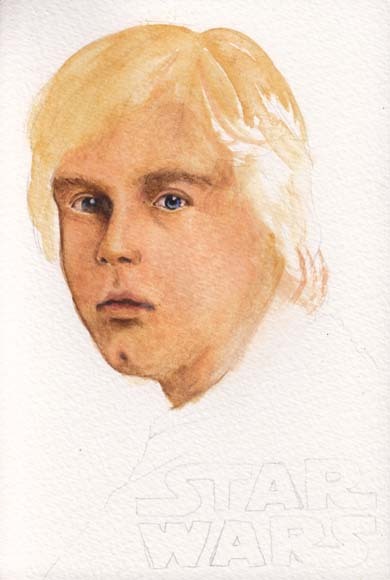
Like I said in the previous step, don’t get lazy to repeat the process until you get the color you desire. I still use the same colors (naples yellow red, yellow ochre and vandyke brown) for his face.
And now his face is getting better! I put the basic paint on his hair, which is yellow ochre and move on to the background. I just mix the indigo paint and yellow ochre plus water here and there. Control the thickness with the amount of water you mix with the paint.
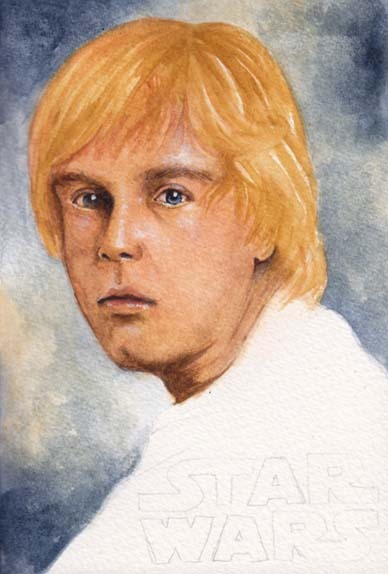
After his face is getting better, let’s fix the hair. I used burnt sienna after the yellow ochre. The STAR WARS letter became yellow-ish because I put masking fluid on it. Masking fluid is used to cover the are that you don’t want to paint. Let the masking fluid dry, apply the paint, and the masked area will be save. After it’s done, you just simply remove the dried-masking-fluid with your eraser. I applied the masking fluid on the letters because I was gonna paint the cloth on the next step.
Masking fluid makes my life easier….
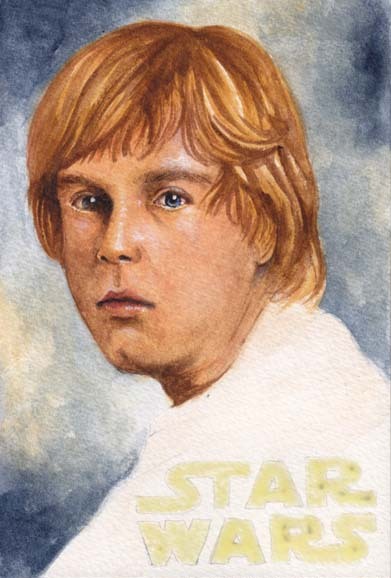
Next, I colored the cloth with white and sepia. On the pic above, I’ve already removed the masking fluid. You can see that the letter remained clean. No paint can touch them. :D
I paint the hair as well. Put more dark shadow on it with vandyke brown and sepia paint.

Yes, it’s finishing time! Work on the light and dark shadow here and there. I always LOVE to apply white gouache to create light area on face. It will make the face a lil bit like shinning. haha.
And don’t forget to paint the letters.
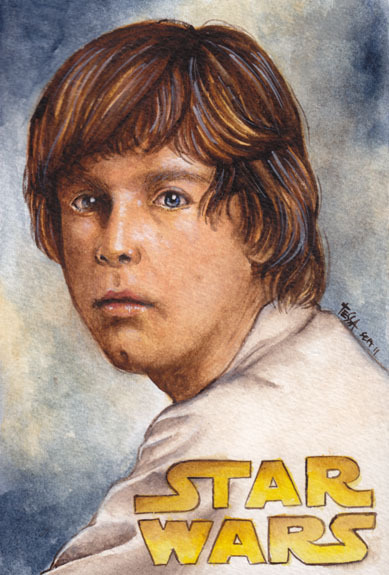
And…. Voila! The painting is done.
Time taken: 5 hours in total or could be less. I also chatted online with my friend during this painting. He loves Star Wars too :’)
Tessa
x

“The Force is strong with this one.”
5-hours of fun watercolor painting on blank postcard (A6). I am making a pair of wings for my angel :) Below is the painting of him without wings yet and pieces of his paper-wings above are ready to be attached to his back. Hope he still can fly with them.
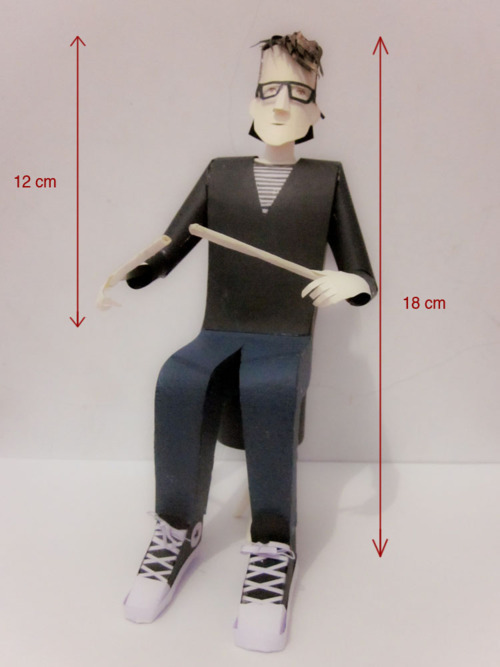
Okay! I’m gonna try to describe how I made a 3D papercraft of Ben in case any of you wanna know how I did it. Hope I can explain it well.
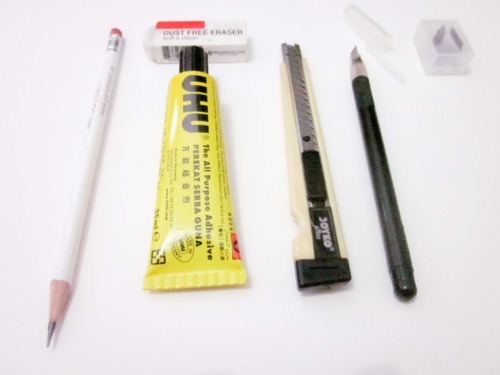
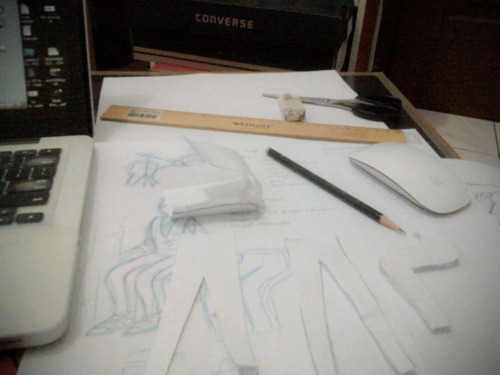
Tools I need: Paper, glue, scissor and cutter. It would be helpful if you have pen-type cutter that is usually used for craft. Pencil and eraser are also needed to make the pattern. (Not to mention the video that was watched like thousand times.)
Time taken: almost forever :p Since this kind of art is new for me, I did lots of trial and error on it before I got the final result.
So sorry I didn’t take a picture of every step. My desk was so messy, pieces of unused paper were everywhere and I’d be crazy if I had to clean some spaces and take a pic every time I made a progress.
Here are quick explanations about the process:
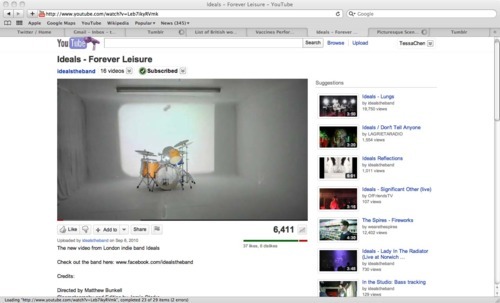
1. Watch the video and capture some important scene that can be used as references. If you love the band, you will not get sick of watching it over and over again. Trust me. I still don’t mind see that vid again :’)
2. Prepare the tools. Buy some papers with colors that match the colors of Ben’s hair, outfit, shoes and drum kit. You also need another paper for pattern. It doesn’t need to be fancy. Used-paper would be fine.
3. Draw the sketch of Ben and the drum kit, complete with the size estimation of each part. Since I’ve never done this before, I actually kinda take a guess about the size. After I drew the sketch, I made the pattern on paper. Cut the pattern and try to glue them together to see the shape. I used my intuition/feeling/whatever it called in this process. If the shape wasn’t good enough, I made a new pattern. That is why I said I did lots of trial and error.
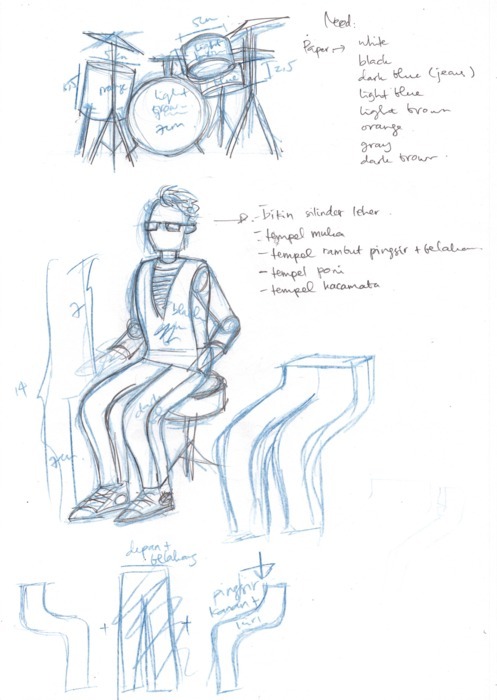
4. Each part of this 3D papercraft is divided into smaller part. For example, Ben was divided into: head, hair, body from shoulder to waist, arms, hands, legs and shoes. The drums were simpler since the shapes are mostly cylinder. I made the drum kit before Ben himself. Then, I adjusted Ben’s height to the size of the drums.
I usually made a good plan for everything. So, before I started to cut and glue, I drew a kind of step-by-step process. I needed to think which part I should make first.
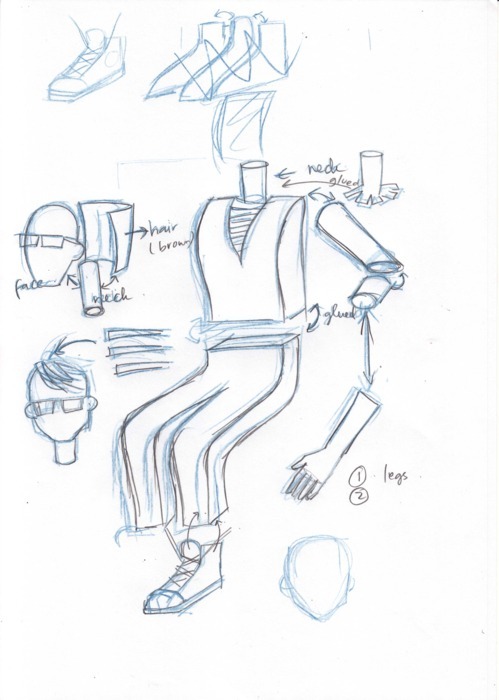
- First part of Ben that I made was legs (the blue part). The legs were divided into six parts: front, back, outer-left leg, inner-left leg, outer-right leg and outer left leg.
- Second was body from shoulder to waist, without arm (black).
- Third was shirt. It’s very simple. I just needed to make a black and white stripe paper and glued it to the inner side of the body.
- Forth was arm(s). Still black. Don’t forget to make the hand as well (skin color), but don’t glue together yet.
- Fifth was head. Head is divided into neck (simple cylinder), face, back hair, fringe, and glasses. Don’t glue them together yet. Let them separated.
- Sixth were shoes. It looked difficult to make them, but in fact it wasn’t as hard as I thought. I have similar Converse shoes and it helped me a lot. The black part of the shoes was divided into four parts: outer, inner, front (where the shoelaces are) and back. The white part of the shoes was divided into three part: shoelace (I just needed to make a long thin piece of paper), the white part on the front (dunno what it called) and the sole.
After I had all these six body parts, all I needed to do is put them together, started from body to arms, body to neck, neck to face and hair, body to legs and finally legs to shoes.
PS: I am not sure whether this crappy blog gives enough information about the process or not. It’s so hard to explain the step-by-step without pictures.

Tessa
x